I love working with Resin! Before creating Dollhouse Miniatures I used resin for making jewelry made of flowers that I picked and dried. Because I love the medium so much I had to try it in my miniature creations! Resin can be intimidating but its really not as intimidating as you think! Once you start you'll wonder why you didn't start sooner. Remember, you will make mistakes. That's ok. Just start and have fun! To make it a little easier for you, I'd like to share with you 5 Resin Tips that I wish I would have known starting out.
TIP 1:
CuringResin Takes a Long Time to Cure! With that said, pick a spot that the resin can sit for a long period of time. Working on cookie sheets is a good idea if room is an issue for you. The sheets can easily be moved but remember to set on a level surface or your Dollhouse Miniature creations won't be straight. Also, know that temperature is very important when working with resin. Too hot and it will cure too fast. Too cold and it won't cure at all and could be sticky. 70-73 degrees is the perfect temperature for your Miniature Resin Creations to cure.
TIP 2:
It's important to measure the resin EXACTLY as instructed on the packaging! If more of less harder is used your Dollhouse Miniature creations would turn out sticky or not dry at all. Also, know that not all Resin is the same. Pick the Resin that best suits your project. Need a fast drying resin? Try this UV resin. It cures quickly in the sun or in UV light. I love this resin the best! Its a jewelry grade resin and cures super clear.
TIP 3:
Your worst enemy when working with Resin for your Miniatures will be bubbles! Always remember to mix slowly and wait at least 5 mintues before pouring. Setting the resin bottles in bowls of warm water before measuring also helps. PRO TIP: use a lighter and torch the bubbles after the 5 minutes is up. Please take caution when doing this and its not recommended for children to do this with adult surpervision.
TIP 4:
DirtDust, Lint and Dirt as also your worst enemy when working with Resin for your Dollhouse Miniature Creations! Make sure to clean your area as well as any molds that you may be using. I like to use duct tape to ensure all hair, lint and dust is removed before pouring.
TIP 5:
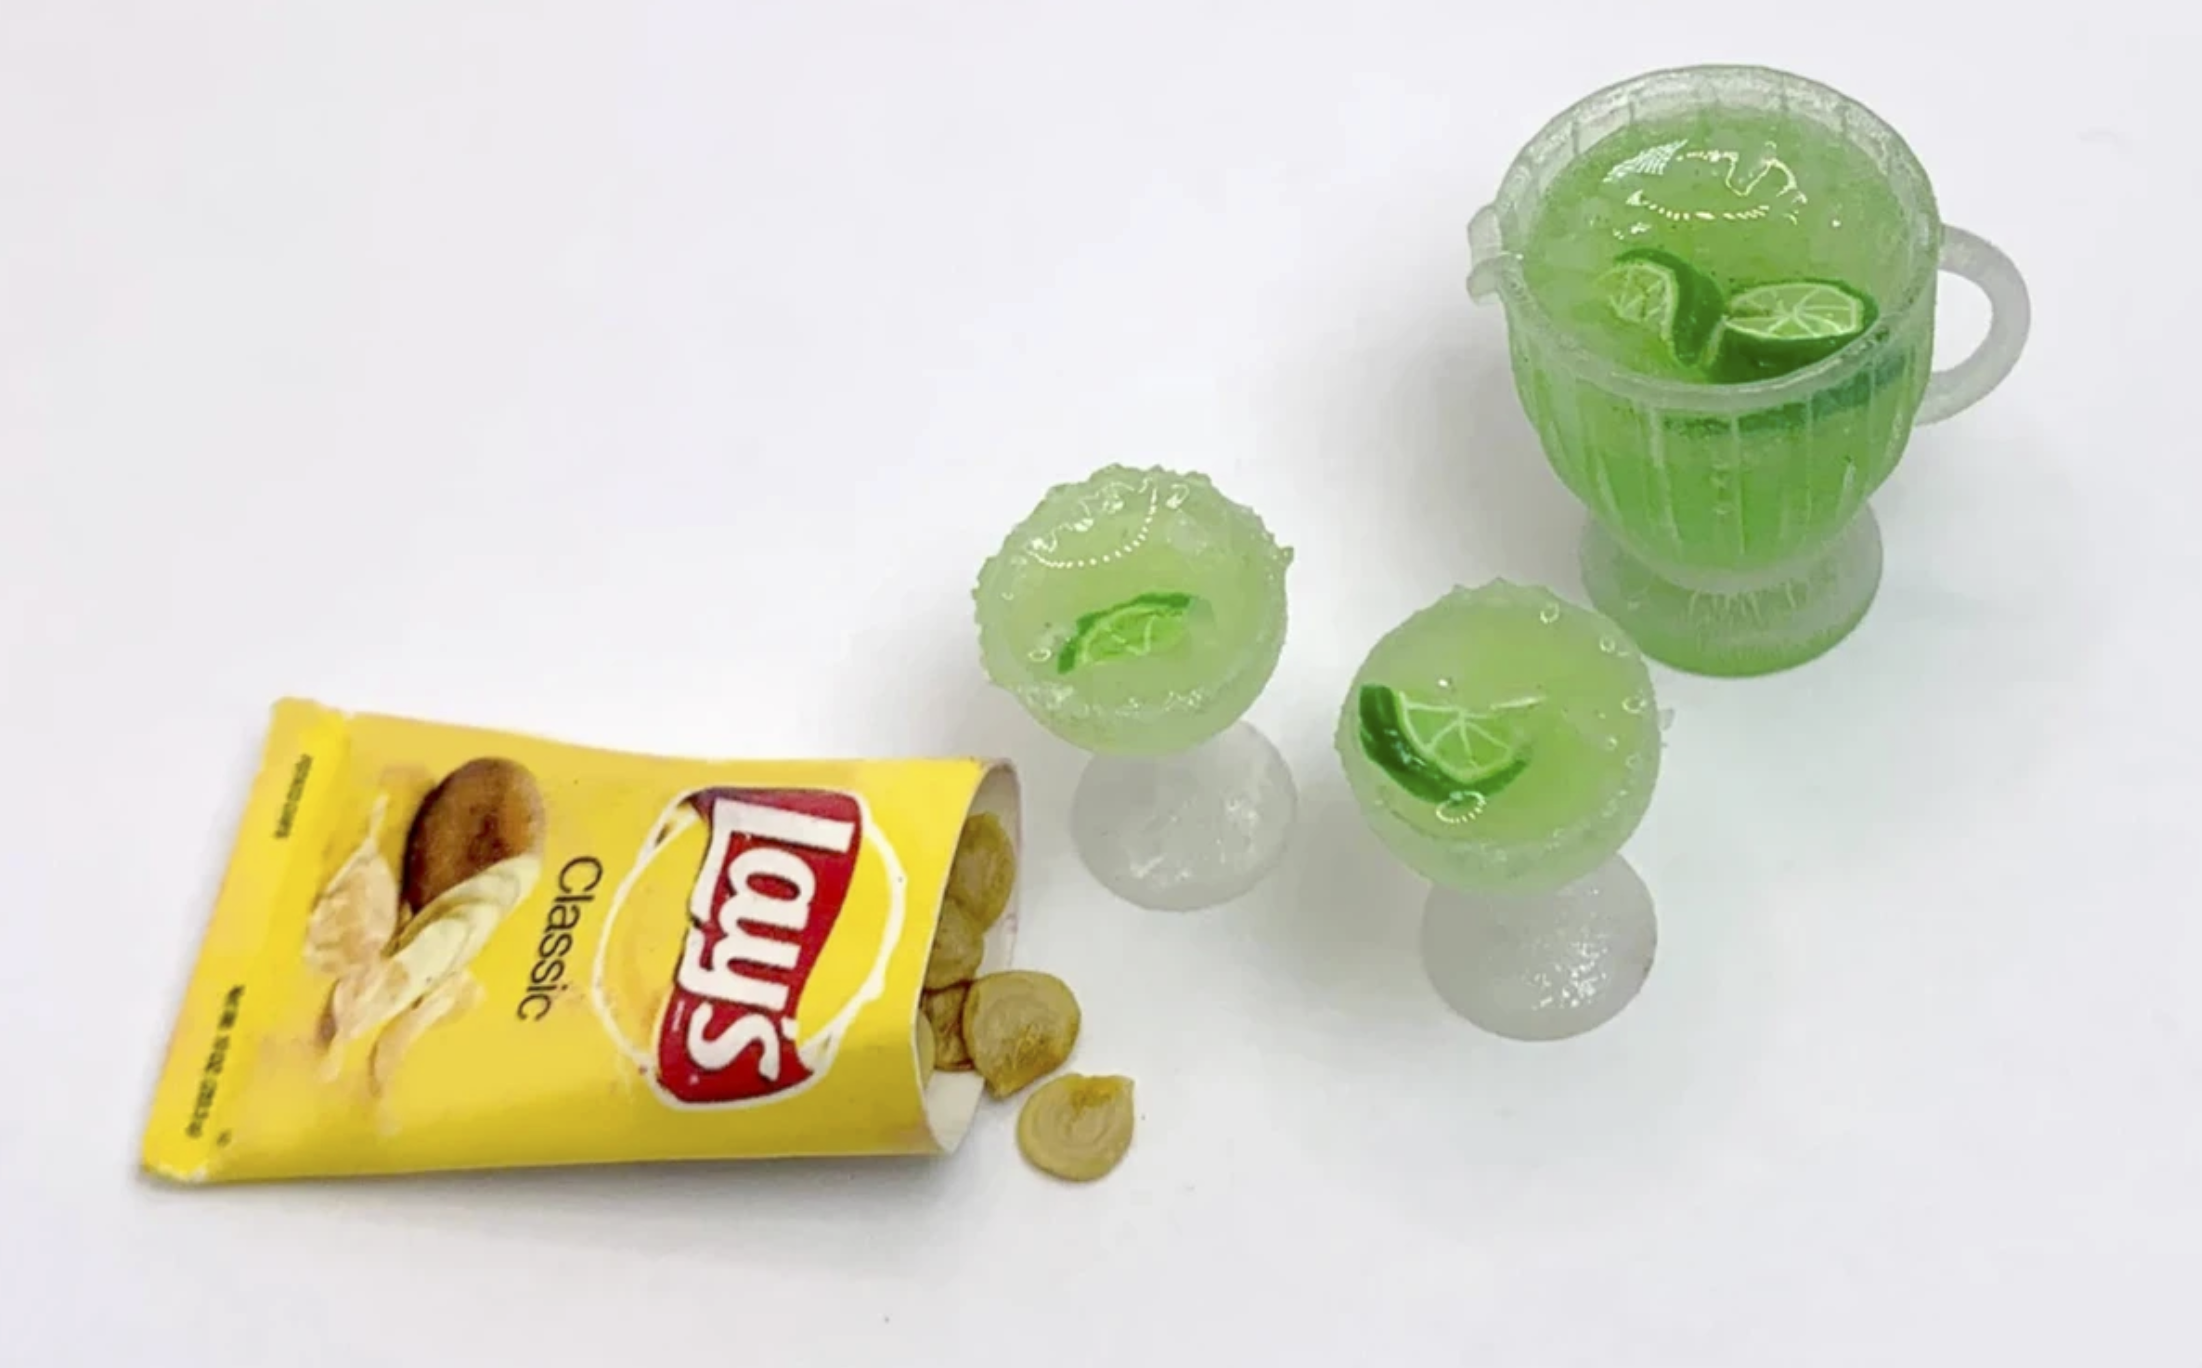
LayeringWaiting for resin to dry is worse than waiting for paint to dry! Layering your resin can give you really cool effects! Especially when making fancy Miniature cocktails. Make sure to wait AT LEAST 4-5 hours between each pour or your resin will mix together. TRUST ME... I know!
LET'S CONNECT:
website>>> https://www.micdropminiatures.com
instagram>>> https://www.instagram.com/micdropminiatures
facebook>>> https://www.facebook.com/MicDropMiniatures
pinterest>>> https://www.pinterest.com/micdropminiatures
miniature community>>> https://www.facebook.com/groups/micdropminiaturesclub
This site contains affiliate links to products. We may receive a commission for purchases made through these links.